|
Page 2 of this Tutorial
Unfortunately you will have to use the 'Back' functionality of your browser to see previous pages, with this site space is at a premium...
|
|
|
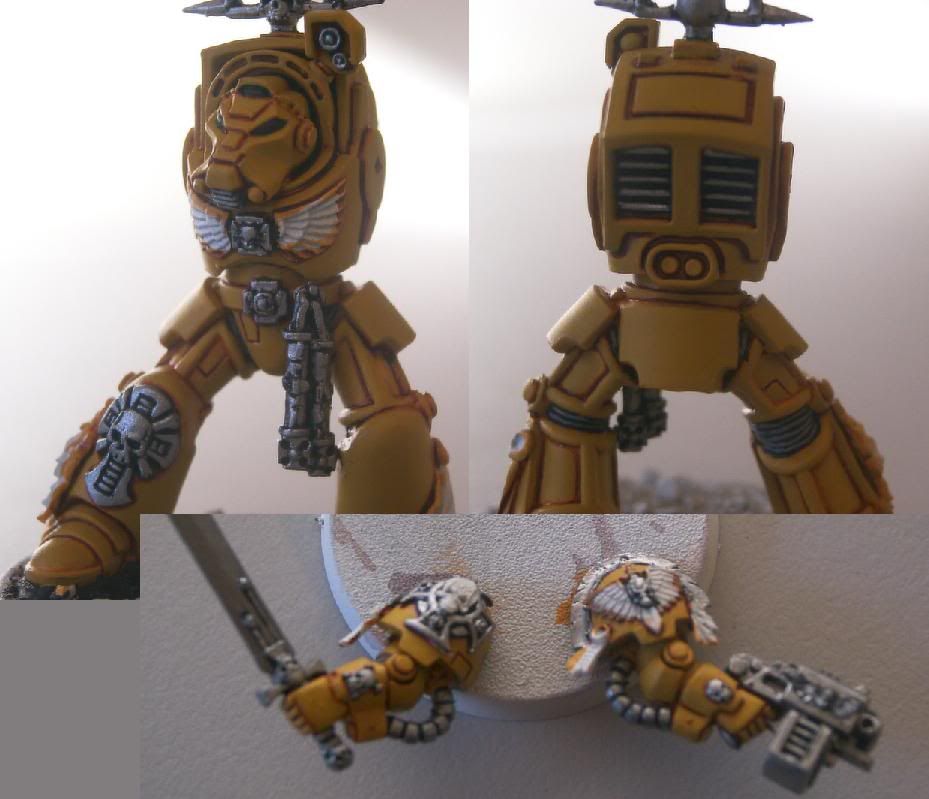
Step 5: Metals Part 1
Now start working on the metals. I use Mithril Silver for all my silver, with black mixed in if darkening is required, as here. Paint all the areas that will be silver or gold. It doesnt have to be particularly neat since more paint will be going on over the top. Leave some black in the recesses for depth. |
|
|
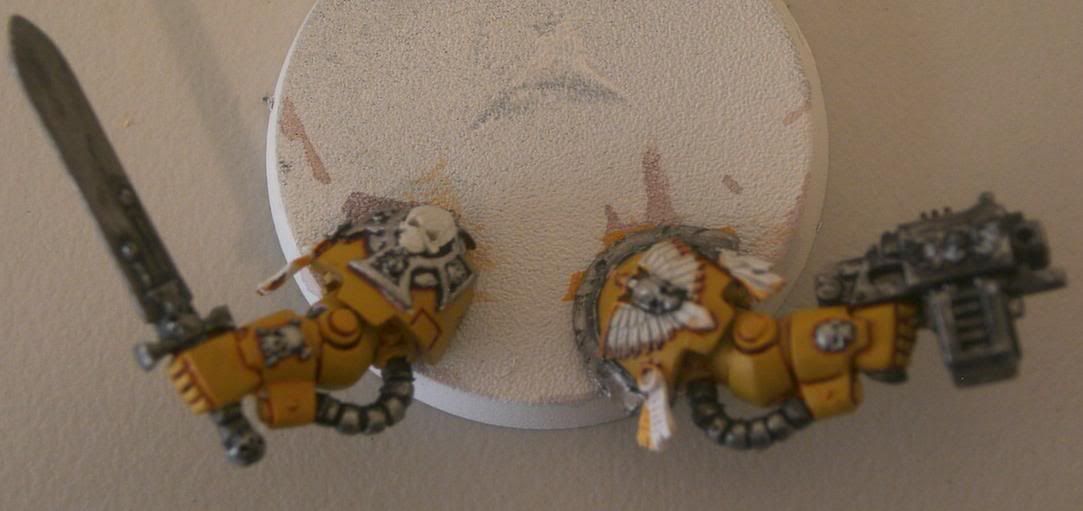
Step 6: Metals Part 2
Once the metals are dry, water down some black paint A LOT. This needs to be more watery than ink. Coat all the metal parts that will remain silver with this mixture. It might take a bit of practice to get the right amount to go on, but I believe it makes the metal look very nice when done properly. Rub lightly over the 'upper' areas with your fingers, this will remove some of the black paint on edges and the top of curves, adding simple highlights (black fingers are well worth the sacrifice!). More complicated highlights can also be done if you so desire.
|
|
|
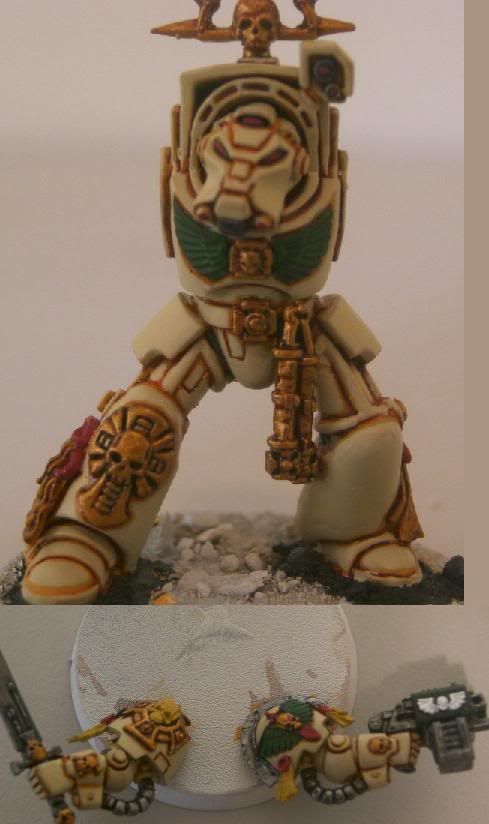
Step 7: Bleached Bone and Gold
This step compromises two colours. First, Shining Gold is applied to the previously silver areas. The silver on the previous layer gives it a better shine, and makes the gold come up brighter than if it was applied to black by itself. When the Shining Gold is dry, apply some Flesh Wash (or equivalent) to the gold to add shading to the recesses. Later the flat/high areas will be given another coat of gold. Secondly, Bleached Bone is added to the armour. Now it will start to look like a Deathwing model. Water down the Bone so that it applies smoothly to the armour plates, but not so much that it will dribble into the cracks. Again, this will take practice. Apply the bone to all the areas of armour, leaving some Bubonic Brown showing in the recesses. You have now worked up from shading to main colour. If some paint does run into the cracks, dab as much as you can up with a tissue, but don't be too concerned, later you can run some ink in the cracks (almost blacklining) to tidy up. This step allows you to cover up any metallics you may have got on the armour in previous steps. |
|
|
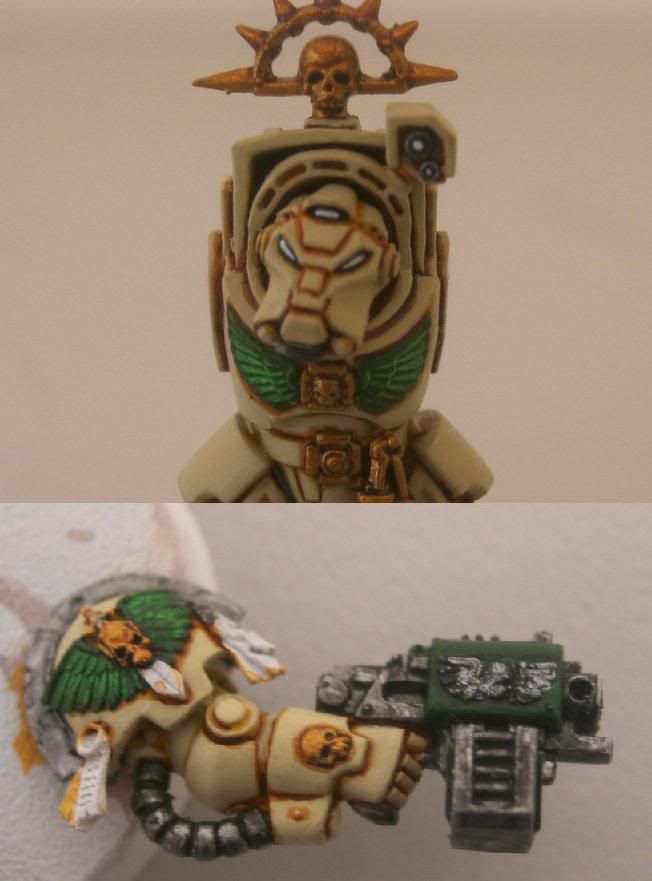
Step 8: Dark Angels Green and some Detail
Quite a simple step here. Water down some Dark Angels Green and apply to chest and shoulder eagles, and Storm Bolter casing. If you arent into lots of highlight or want to finish the models quickly, you can leave the Green here as it is, the watered green over white sort of acts in a similar way to ink, leaving some 'pre-made' hightlights and shading. Additionally, paint the eyes and lights white in preparation for red.
|
|
|
Step 9: More Green, Red and another round of Bubonic Brown
Another simple step here. Give all the Green areas another watered down coat to make the DA green actually DA green. Paint the detail on the side of the Storm Bolter in white. Use Red Gore on the eyes and lights/lenses/details, as well as on the seal part of the Purity Seals. Apply Bubonic Brown to the parchment part of the Seals, as well as the skull on the left shoulderpad. |
|
|
|
|
|
|
|
|